AWS CloudShell - Persisting Custom Software Installations
Overview
YouTube Video Tutorial: https://youtu.be/v1DakpaVWSE
In a previous article, we walked through setting up AWS CloudShell for deploying Service Foundry. As you begin using CloudShell for real work, one key challenge you’ll encounter is how to retain custom-installed tools across sessions.
For example, if you install tools like helm or yq into /usr/local/bin, they’ll work fine—until your session ends. Once the session closes or times out, those binaries are wiped out. This is because that location resides on ephemeral storage, which does not persist between sessions.
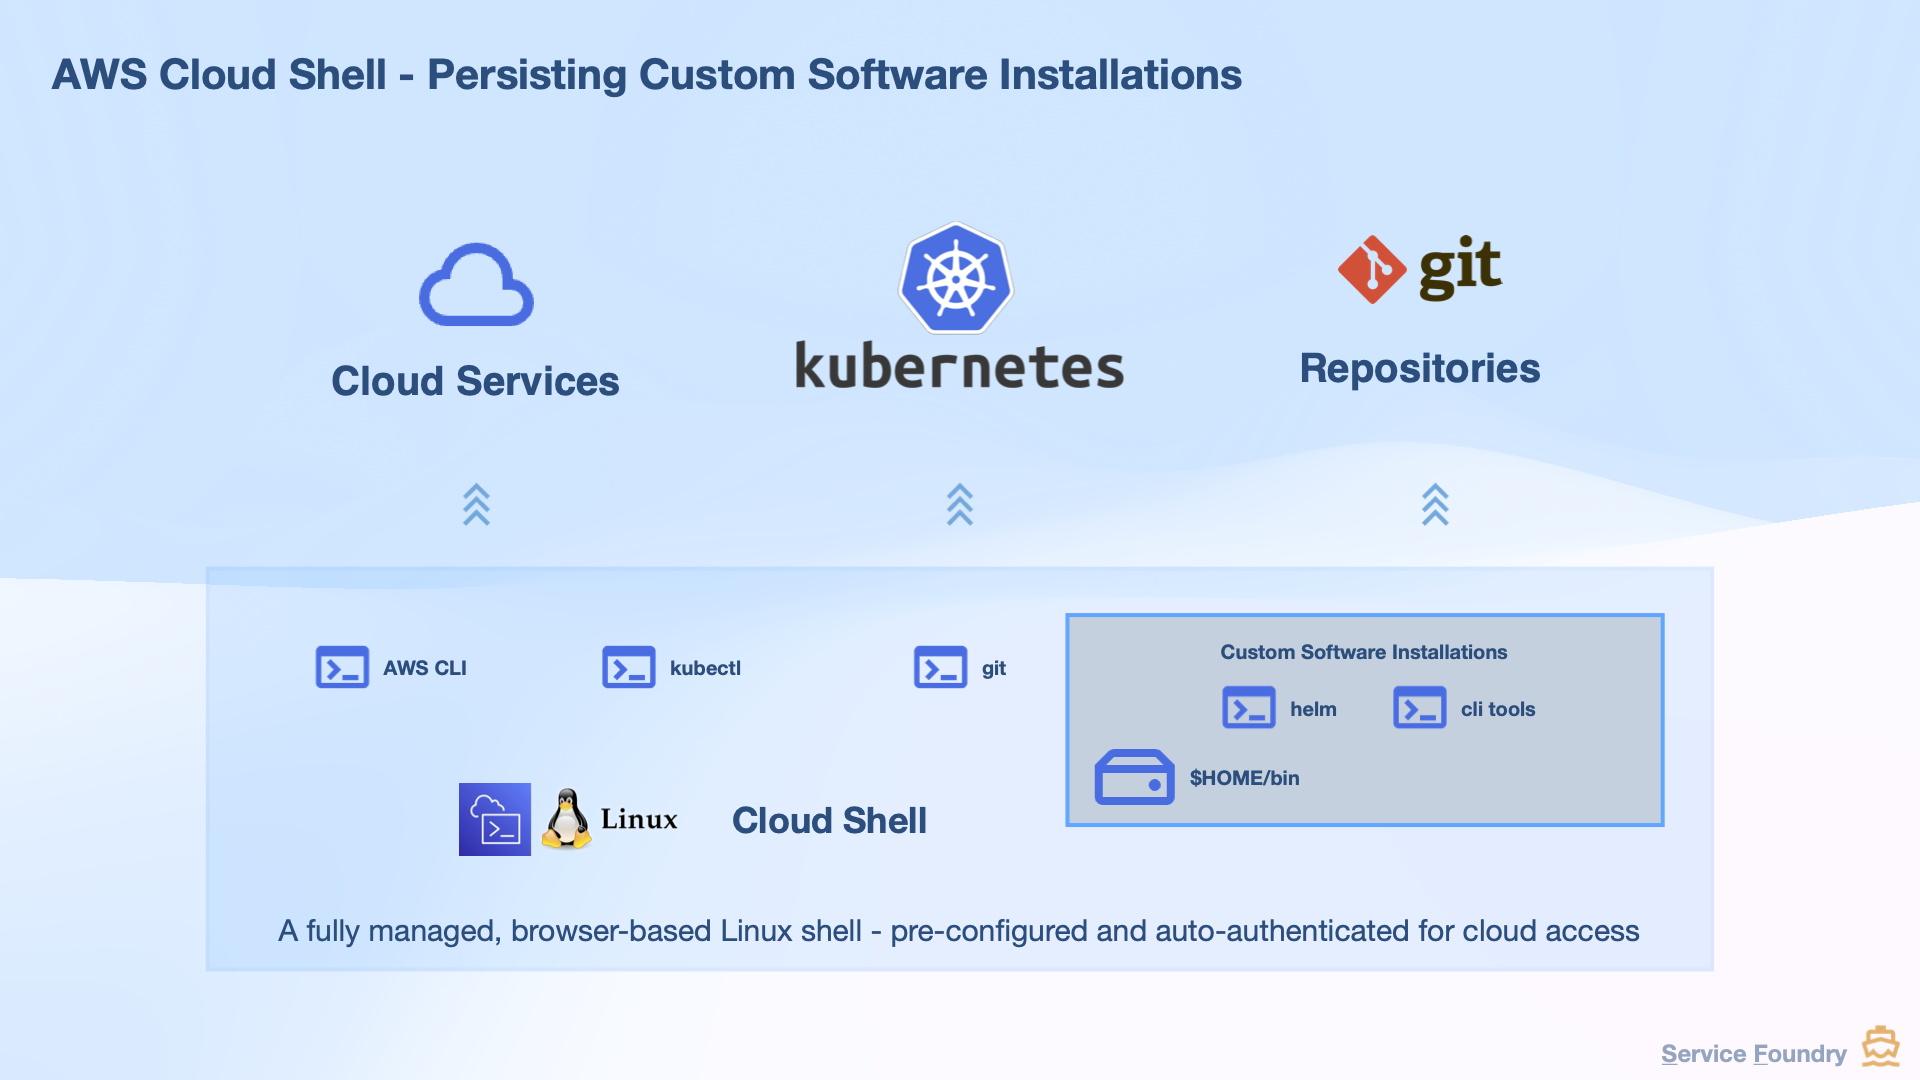
To solve this, AWS CloudShell provides 1 GB of persistent storage located in your home directory ($HOME). This space is yours, private, and retained across sessions and even system restarts.
This guide shows how to leverage that persistent space to install helm, yq, or any custom tools so they remain available every time you log in to CloudShell.
Using Persistent Storage in AWS CloudShell
AWS CloudShell gives every user 1 GB of persistent storage per region—and the best part is, it’s free. This persistent storage is located in your home directory ($HOME), and anything you store there remains intact between sessions. In contrast, most other parts of the CloudShell environment are reset whenever you disconnect.
You can read more about this in the official AWS documentation: AWS CloudShell Persistent Storage.
Add $HOME/bin to PATH
To make custom-installed tools accessible from the command line, you should store them in a dedicated folder like ~/bin and ensure it’s part of your PATH.
CloudShell usually includes $HOME/bin in the PATH by default. But if for any reason it isn’t, follow these steps:
$ echo $PATH$ echo 'export PATH=$HOME/bin:$PATH' >> $HOME/.bashrc
$ source $HOME/.bashrc$ mkdir -p $HOME/binInstalling Custom Tools in Persistent Storage
Now let’s install two essential CLI tools—Helm and yq—into your persistent $HOME/bin directory so they survive restarts and session expirations.
Install eksctl
First, download the latest eksctl binary and move it to your persistent bin directory:
$ curl --silent --location "https://github.com/eksctl-io/eksctl/releases/latest/download/eksctl_$(uname -s)_amd64.tar.gz" \
  -o eksctl.tar.gz
$ tar -xzf eksctl.tar.gz
$ mv eksctl $HOME/bin/
$ rm -rf eksctl.tar.gz
Verify installation:
$ eksctl versionInstall Helm
Run the following commands to download and move Helm into your persistent bin directory:
$ curl -L https://get.helm.sh/helm-v3.14.2-linux-amd64.tar.gz -o helm.tar.gz
$ tar -zxvf helm.tar.gz
$ mv linux-amd64/helm ~/bin/
$ rm -rf helm.tar.gz linux-amd64
Verify installation:
$ helm versionInstalling yq
Next, download the latest yq binary and make it executable:
$ wget https://github.com/mikefarah/yq/releases/latest/download/yq_linux_amd64 -O ~/bin/yq
chmod +x ~/bin/yq
Verify installation:
$ yq --versionRestart CloudShell to Finalize Setup
To confirm that everything works as expected, restart your CloudShell session.
Click the gear icon in the top-right of the CloudShell window and choose “Restart”.
Then, once the terminal restarts, run:
$ helm version
$ yq --version
If you see valid output, congratulations—your tools are now installed persistently!
Optional: Create a Setup Script for Ephemeral Use
If you don’t want to store software permanently or want a reproducible way to set up tools every time, you can create a script like this one:
$ cat << 'EOF' > $HOME/setup-cloudshell.sh

#!/bin/bash

# Install Helm
curl https://raw.githubusercontent.com/helm/helm/main/scripts/get-helm-3 | bash

# Install yq
wget https://github.com/mikefarah/yq/releases/latest/download/yq_linux_amd64 -O ./yq
chmod +x ./yq
sudo mv ./yq /usr/local/bin/yq

# Install any other tools you need here

EOF
Make the script executable:
$ chmod +x $HOME/setup-cloudshell.shThen run this script anytime you launch a fresh session:
$ $HOME/setup-cloudshell.shConclusion
Installing custom tools like Helm and yq in ephemeral paths like /usr/local/bin works only temporarily on AWS CloudShell. Instead, using the persistent $HOME/bin directory ensures those tools stick around for your next session.
With just a little configuration, you can make your CloudShell environment feel permanent and productive.
📘 View the web version: